Kenwood DNN991HD Quick Start Guide Page 20
- Page / 68
- Table of contents
- BOOKMARKS
- DNN991HD 1
- DNN9710BT 1
- 2 ñ English 2
- Precautions 3
- 4 ñ English 4
- Safety Precautions and 5
- Important Information 5
- 6 ñ English 6
- First Step 7
- 3 Touch [Next] 8
- 5 Touch [Finish] 9
- 10 ñ English 10
- Common Operation 11
- 2 Select the login user 12
- 3 Enter the password 12
- How to Use the Navigation 13
- 14 ñ English 14
- How to Play Music 15
- 16 ñ English 16
- How to Play Movie 17
- How to Listen to the Radio/ 17
- HD Radio™ tuner/ SiriusXM® 17
- 18 ñ English 18
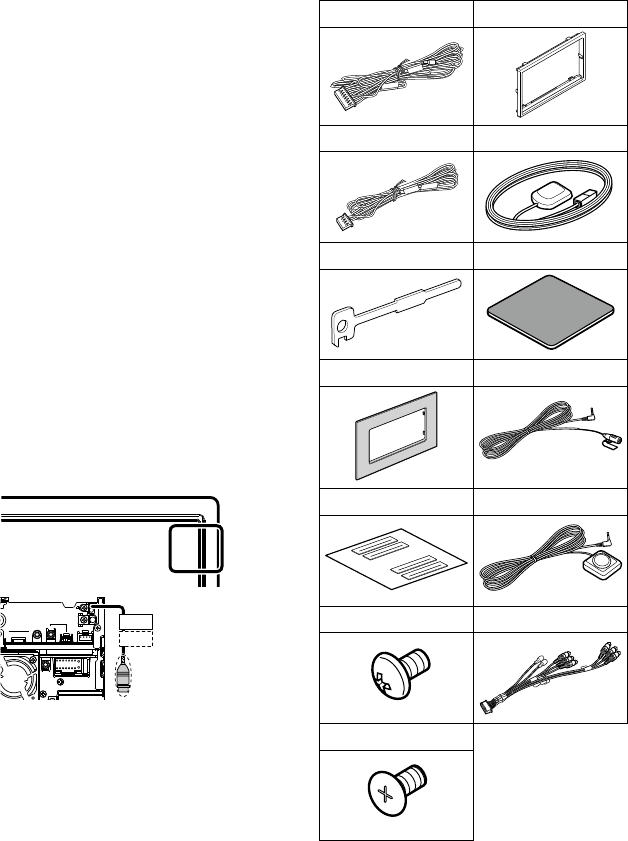
- Installation 19
- 20 ñ English 20
- English ñ 21 21
- 22 ñ English 22
- English ñ 23 23
- 24 ñ English 24
- English ñ 25 25
- 26 ñ English 26
- English ñ 27 27
- 28 ñ English 28
- English ñ 29 29
- 30 ñ English 30
- English ñ 31 31
- 32 ñ English 32
- English ñ 33 33
- 34 ñ Español 34
- Precauciones 35
- 36 ñ Español 36
- Precauciones de seguridad e 37
- 38 ñ Español 38
- Primer paso 39
- 3 Toque [Next] (Siguiente) 40
- 5 Pulse [Finish] 41
- 42 ñ Español 42
- Operaciones generales 43
- 3 Introduzca la contraseña 44
- Cómo usar el sistema de 45
- 46 ñ Español 46
- Cómo reproducir música 47
- 48 ñ Español 48
- Cómo reproducir películas 49
- Cómo escuchar la radio/ 49
- SiriusXM® 49
- 50 ñ Español 50
- Instalación 51
- 52 ñ Español 52
- Español ñ 53 53
- 54 ñ Español 54
- Español ñ 55 55
- 56 ñ Español 56
- Español ñ 57 57
- 58 ñ Español 58
- Conguración de iPod/iPhone/ 59
- 60 ñ Español 60
- Español ñ 61 61
- 62 ñ Español 62
- Español ñ 63 63
- 64 ñ Español 64
- Español ñ 65 65
- FCC WARNING 66
- CLASS 1 67
- LASER PRODUCT 67
Related products and manuals for Navigators Kenwood DNN991HD
 (56 pages)
 (32 pages)


 (132 pages)
© 2020, manymanuals.com. All rights reserved. | 0.931 s |
 Manymanuals.com
 Manymanuals.de
 Manymanuals.fr
 Manymanuals.it
 Manymanuals.pl
 Manymanuals.cz
 Manymanuals.es
 Manymanuals-pt.com
Comments to this Manuals